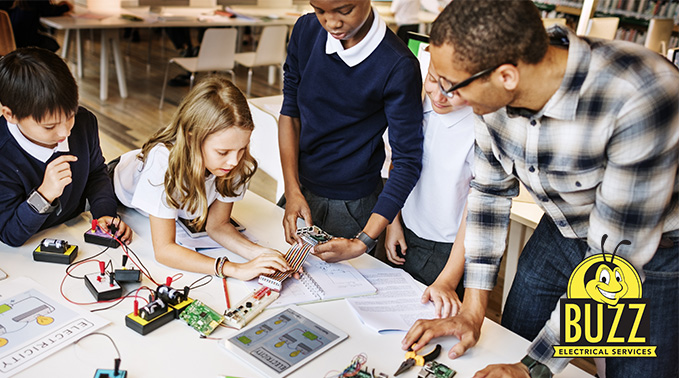
3 Electricity Experiments for Kids
SCHEDULE SERVICE
3 Electricity Experiments for Kids
May 10, 2019

One of the most effective ways to teach your kids about electrical safety is to help them better understand how electricity works. Electricity is an abstract concept that kids don’t always automatically connect with flipping on a light switch or plugging in a laptop. But once they have seen electricity in action for themselves, they understand how and why to be safe around it.
This National Electrical Safety Month, we want to encourage parents to start conversations about electrical safety with their kids. Here are three fun electricity experiments for kids that you can try together as a family. Even if your kids aren’t homeschooled, you can have lots of fun using a handful of household supplies and open minds.
1. Static Electricity Butterfly
Help your kids use static electricity to make a butterfly’s wings flap up and down. You’ll need cardboard, tissue paper, cardstock paper, scissors, glue, optional googly eyes, and balloons.
Step 1: Cut out a cardboard square.
Step 2: Draw a pair of butterfly or dragonfly wings on the tissue paper and cut them out. Make sure they are a little bit smaller than your cardboard square. Don’t glue them down, they need to be loose.
Step 3: Draw the butterfly’s body on cardstock and cut it out. Glue the cardstock body onto the cardboard and on top of the tissue paper wings (leaving the wings loose and held in place by the body). Add the optional googly eyes to the body.
Step 4: Blow up a balloon. Rub it on your head to create an electrical charge.
Step 5: Hold the balloon above the butterfly, not quite close enough to touch. Move the balloon up and down to make the butterfly’s tissue paper wings flap!
2. Complete a Circuit
Show your kids what a circuit looks like so that they can imagine how circuitry works inside their own home. You’ll need copper wire, a battery, alligator clips, and a small lightbulb. You can buy a kit with all of the supplies from Science Wiz.
Step 1: Cut two pieces of copper wire.
Step 2: Attach the copper wires to the positive and negative ends of the battery. Secure them in place with alligator clips.
Step 3: Attach the other ends of the wires to the metal cap of the lightbulb. Watch as it lights up!
3. Conductors and Insulators
Take the circuit experiment one step further and teach your kids about conductors and insulators. Use the same supplies and set up from the last experiment, but add a rubber balloon, a wooden block or spoon, a paperclip, and a penny.
Step 1: Cut another piece of copper wire. Connect it to one of your test items (the rubber, wood, or metal items listed above).
Step 2: Disconnect one copper wire from the lightbulb. Attach it to your test item with an alligator clip on the opposite side.
Step 3: Touch the end of the copper wire attached to your test item to the cap of the lightbulb. If it lights up, that material is a conductor. If it doesn’t light up, that item is an insulator. Talk to your kids about what this means for items found around the house or outdoors.
Did you enjoy these electricity experiments for kids?
At Buzz Electrical, our customers and their families are our number one priority. We hope these experiments help your kids have fun and stay safe.
If your kids are interested in learning more, check out these children’s books about electricity. To talk to your kids about electrical safety, check out these tips.
Family owned and operated Buzz Electrical is Fayetteville’s leading electrical company! If you need any electrical upgrades or repairs in your Arkansas home, we are here to help. Give us a call at (479) 267-2899.


